In this guide, we will explore how to waterproof your iPhone.
We will go quite deep here, as even one small mistake can result in you thinking you’ve waterproofed your iPhone, when in fact, you haven’t.
Let’s dive in!
How to waterproof your iPhone step-by-step (DIY waterproofing solution)
Here’s a step-by-step guide on how to prepare your iPhone for waterproofing.
Materials needed
- A resealable plastic bag (make sure it’s large enough to fit your phone)
- A small piece of foam or a few sheets of tissue paper
- Transparent adhesive tape
- Scissors
Steps
- Prepare the Plastic Bag:
- Open the resealable plastic bag and ensure it’s clean and dry inside.
- Create a Cushion:
- Place a small piece of foam or several sheets of tissue paper inside the bag. This will help absorb any moisture that might accumulate inside the bag.
- Place Your Phone Inside:
- Carefully insert your phone into the bag, ensuring that it fits comfortably. Be mindful of any buttons or ports on your phone, and position it in a way that they are accessible if needed.
- Seal the Bag:
- Carefully seal the resealable bag, ensuring that it’s tightly closed. Make sure there are no gaps or openings along the seal.
- Trim Excess Plastic (Optional):
- If there’s excess plastic sticking out from the sides, you can trim it with scissors to make the bag more compact.
- Secure the Seal with Tape:
- To further enhance the waterproofing, you can use transparent adhesive tape to reinforce the seal. Apply a strip of tape along the entire length of the seal, pressing it firmly to ensure a secure closure.
- Test for Water Resistance:
- Before exposing your phone to water, it’s advisable to test the DIY waterproofing by submerging the bag in a basin of water for a short period. After removing it from the water, carefully dry the outside of the bag and check for any signs of moisture inside. If there is any, adjust the seal or add more tape as needed.
- Use Your Phone Safely Around Water:
- With the DIY waterproofing in place, you can use your phone safely near water sources, such as in light rain or by the pool. However, avoid prolonged or deep submersion, as this method is not as reliable as specialized waterproof cases.
- Be Cautious:
- Remember that this DIY solution offers limited protection, and it’s not foolproof. Exercise caution and avoid exposing your phone to excessive water pressure or situations where extensive water exposure is likely.
Essential tools and materials for waterproofing
Waterproofing your iPhone requires specific tools and materials to ensure a reliable seal and protection. Here’s a list of essential items you’ll need for the waterproofing process:
- Waterproof Case or Cover: Invest in a high-quality waterproof case or cover designed for your iPhone model. These cases provide a robust barrier against water and are often rated with IP certifications for depth and duration.
- Waterproof Sealant: If you’re attempting a DIY waterproofing project, you’ll need a specialized waterproof sealant. Make sure it’s compatible with electronics and provides a secure, watertight seal around the phone’s components.
- Isopropyl Alcohol: Use isopropyl alcohol to clean your iPhone thoroughly before applying any sealant. Ensure it’s at least 70% alcohol to remove any dirt, oil, or residue that may compromise the seal.
- Microfiber Cloth: A microfiber cloth is perfect for gentle and lint-free cleaning. It helps prepare the surface for the sealant and ensures no particles are trapped beneath it.
- Gloves: Wear disposable gloves to prevent fingerprints, oils, or contaminants from transferring to your iPhone during the waterproofing process.
- Screwdrivers and Pry Tools: If you’re opening your iPhone to access its internal components, you’ll need compatible screwdrivers and pry tools to disassemble and reassemble it safely.
- Desiccant Packets: These moisture-absorbing packets can help remove any residual moisture inside the iPhone. Place them in a sealed container with your iPhone for several hours to ensure it’s completely dry.
- Vacuum Sealing Bag: If you’re attempting a more advanced DIY waterproofing, you may need a vacuum sealing bag to ensure a secure seal around the device.
- Plastic Zip Bags: Use these bags to store your iPhone in case you need to immerse it in water as part of a waterproofing test.
- Hairdryer: A hairdryer on a low, cool setting can help ensure your iPhone is entirely dry before reassembling it.
- Waterproof Testing Equipment: Depending on the method you’re using, you may need testing equipment like a pressure chamber or a container filled with water to verify the effectiveness of your waterproofing.
Remember that waterproofing your iPhone can be a complex and risky process, and it may void any existing warranties or AppleCare coverage. It’s often safer and more reliable to use a certified waterproof case or cover designed for your specific iPhone model to ensure its protection against water damage.
Understanding iPhone water resistance
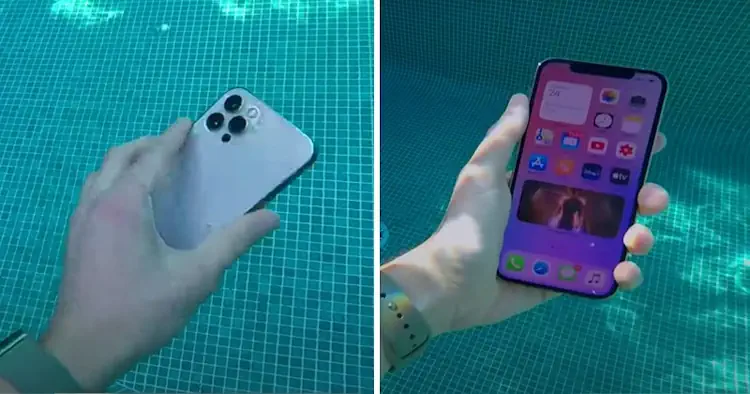
Apple has introduced water resistance capabilities in many of its iPhone models to protect against accidental splashes and submersion. This feature is typically achieved through advanced sealing techniques, protective gaskets, and strategically placed adhesives within the device’s internals.
It’s important to note that water resistance does not mean your iPhone is entirely waterproof.
Instead, it means the device can withstand a certain level of exposure to water, typically measured by an IP (Ingress Protection) rating. For example, an iPhone with an IP68 rating can handle immersion in up to 1.5 meters (approximately 5 feet) of water for a specified duration, usually around 30 minutes.
However, exceeding these limits or exposing your iPhone to water under pressure, such as high-velocity jets or deep diving, may still result in damage.
Check your iPhone’s water resistance rating
First, identify your iPhone model, as different models have varying levels of water resistance.
Next, review Apple’s official specifications for your specific model to find its IP (Ingress Protection) rating. The IP rating consists of two numbers, with the second number indicating water resistance. For example, an IP67 rating means your iPhone can withstand immersion in up to 1 meter (approximately 3.3 feet) of water for 30 minutes, while an IP68 rating indicates resistance to immersion in up to 1.5 meters (approximately 5 feet) of water for the same duration.
Here’s a table with the water resistance ratings of various iPhone models:
| iPhone Model | Water Resistance Rating | Maximum Depth/Duration |
|---|---|---|
| iPhone 13 Series | IP68 | 1.5m depth, 30 minutes |
| iPhone 12 Series | IP68 | 1.5m depth, 30 minutes |
| iPhone SE (2nd gen) | IP67 | 1m depth, 30 minutes |
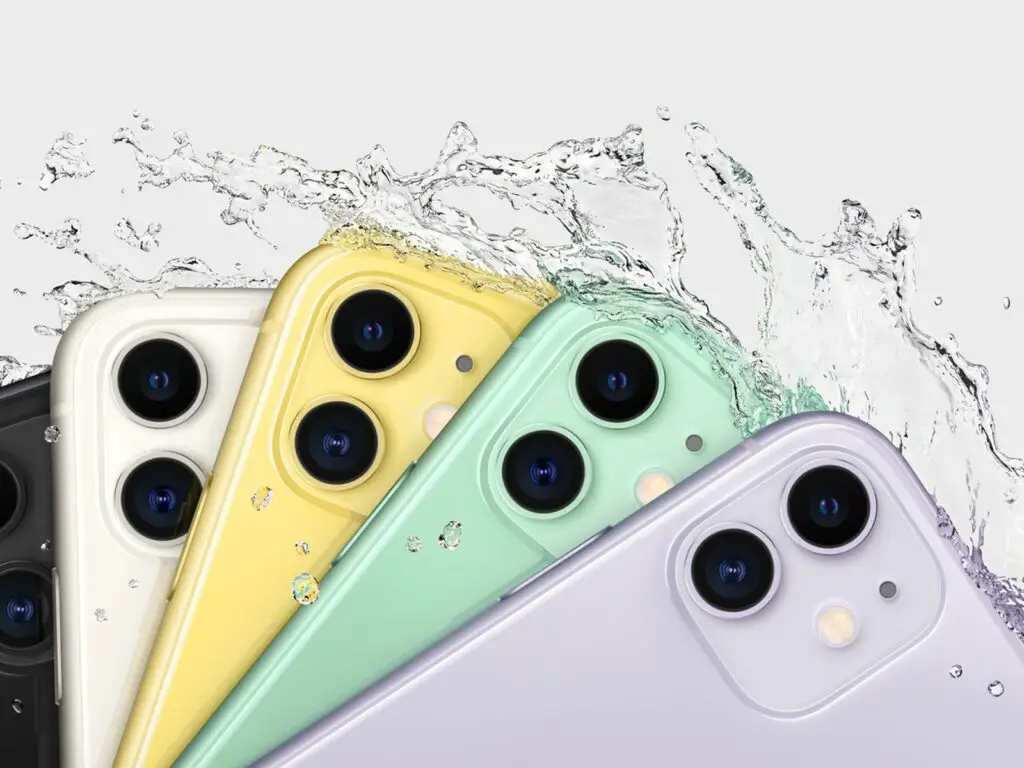
| iPhone 11 Series | IP68 | 4m depth, 30 minutes |
| iPhone XS/XR | IP68 | 2m depth, 30 minutes |
| iPhone 8 Series | IP67 | 1m depth, 30 minutes |
| iPhone 7 Series | IP67 | 1m depth, 30 minutes |
| iPhone 6s Series | IP67 | 1m depth, 30 minutes |
| iPhone 6 Series | N/A | Not specified |
Dealing with water damage: emergency steps
In case you suspect your iPhone has sustained water damage, here’s what to do:
- Remove it from the water and power it off immediately if it’s still on.
- Take off any external accessories and the SIM card.
- Gently dry the exterior with a dry, lint-free cloth, avoiding heat sources like hairdryers. If available, place your iPhone and desiccant packets in an airtight container for 24-48 hours to absorb moisture.
- Do not attempt to charge it until you’re certain it’s entirely dry.
- Allow it to air out in a dry, well-ventilated area for an extended period and then test its functionality.
If problems persist, seek professional assistance from Apple or an authorized service provider. Avoid using rice as a drying method, as it can introduce particles into the device. Remember that water damage may not manifest immediately and can lead to long-term issues, so preventive measures like waterproofing cases are advisable.
Waterproof accessories for enhanced protection

Here are some essential accessories to consider for waterproofing your iPhone:
| Waterproof Accessory | When to Use It | Estimated Cost |
|---|---|---|
| Waterproof Case | Daily use, outdoor activities, swimming | $20 – $100+ |
| Waterproof Pouch or Bag | Beach trips, water sports, snorkeling | $10 – $30 |
| Waterproof Screen Protector | Everyday protection, light water exposure | $10 – $20 |
| Waterproof Earbuds/Headphones | Swimming, water sports, active lifestyle | $30 – $200+ |
| Waterproof Armband | Running, cycling, water-based workouts | $10 – $30 |
| Waterproof Charging Cable | Charging in damp environments, travel | $10 – $20 |
| Waterproof Bluetooth Speaker | Outdoor gatherings, pool parties, camping | $20 – $200+ |
| Waterproof Bag for Travel | Traveling in wet conditions, beach trips | $20 – $50+ |
| Waterproof Floating Strap | Water activities, preventing device loss | $5 – $15 |
| Waterproof Power Bank | Extended outdoor use, camping, hiking | $20 – $50+ |
Warranty considerations: how waterproofing affects Apple coverage
Apple’s warranty will not cover water damage or any issues related to waterproofing if:
- Unauthorized Modifications: If you’ve attempted DIY waterproofing or made unauthorized modifications to your iPhone’s internal components, your warranty is voided. Apple’s warranty explicitly states that it does not cover devices that have undergone unauthorized alterations.
- Use of Non-Certified Accessories: If you use non-Apple certified waterproof accessories, such as cases or covers, and your iPhone sustains water damage while using these accessories, Apple’s warranty may not apply. The warranty generally covers Apple-certified products and their compatibility.
- Water Damage Indicator Activated: Apple technicians often check for the presence of water damage indicators inside the iPhone. If these indicators are triggered, it’s a clear sign of exposure to water or moisture. In such cases, your warranty claim may be denied.
- Liquid Submersion: If your iPhone has visible signs of submersion in liquid, Apple may consider it water-damaged, and warranty coverage may not apply.
- Moisture in Openings: If there’s visible moisture or water damage inside the iPhone’s ports, charging connector, or SIM card tray, this can also void warranty coverage for related issues.
Waterproofing for older iPhone models: is it possible?
Waterproofing older iPhone models is possible through professional services, specialized cases, or DIY methods like adhesive water-resistant tapes.
However, these approaches come with varying levels of effectiveness and may not provide the same level of protection as factory-sealed waterproof devices. It’s essential to exercise caution, as water resistance is not guaranteed, and any modifications can potentially void warranties and introduce risks.